A simple guide on how to load the Masking Master with the masking tape
Welcome to our step-by-step guide on how to put a masking tape roll inside the Masking Master! If you’re looking to streamline your painting and DIY projects, the Masking Master is an indispensable tool that can make your life easier. But before you can start using it, you’ll need to know how to load the tape roll inside the Masking Master. In this guide, we’ll walk you through the process of loading the tape roll into the Masking Master with ease. After reading this guide you’ll be able to load the tape roll like a pro, ensuring that your masking tape is reloaded with a flick of the wrist. So grab your Masking Master and let’s get started!
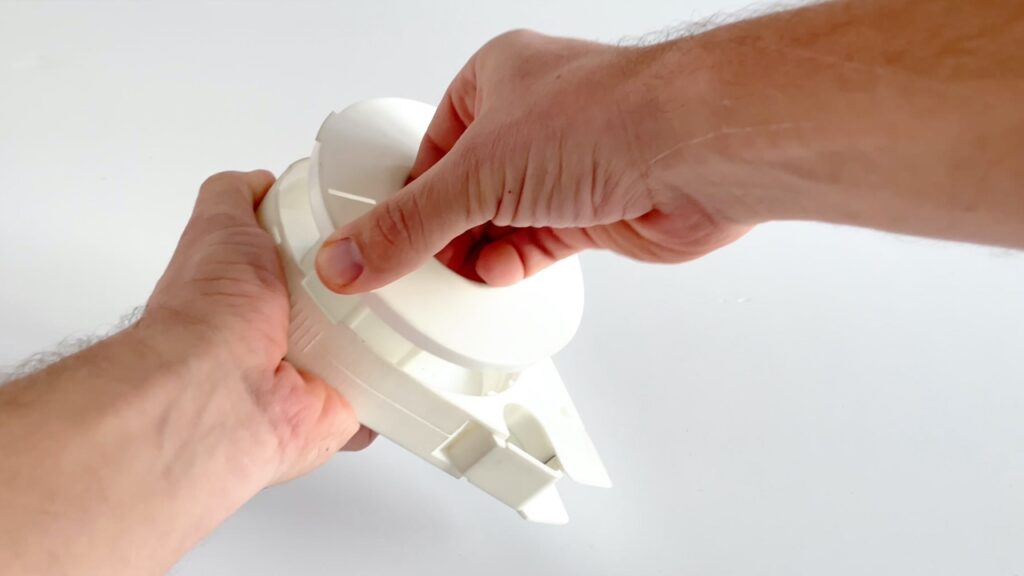
Step 1
Open the lit on the guide side of the Masking Master.
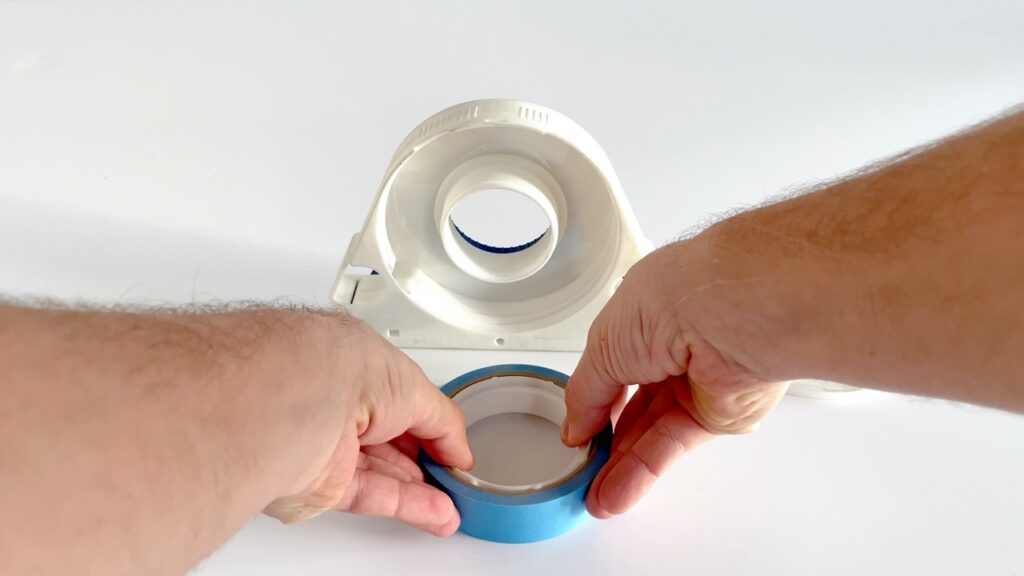
Step 2
Remove the Tape Mount Ring from the core and place it next to the Masking Master.
Step 3
Prepare the masking tape by loosening the first few inches of the Masking Master with the sticky part towards you. Next fold a point at the tip.
Step 4
Grab the Tape Mount Ring and put it inside the tape roll. As we want a tight fix, this may need some force!
Step 5
Push the Tape Mount Ring down to the bottom until you can’t go any further. Make sure you have a solid and leveled surface. This part is very important, as some tape rolls may have less width than the Tape Mount Ring and we need it to be aligned with the back of the Masking Master for correct distancing.
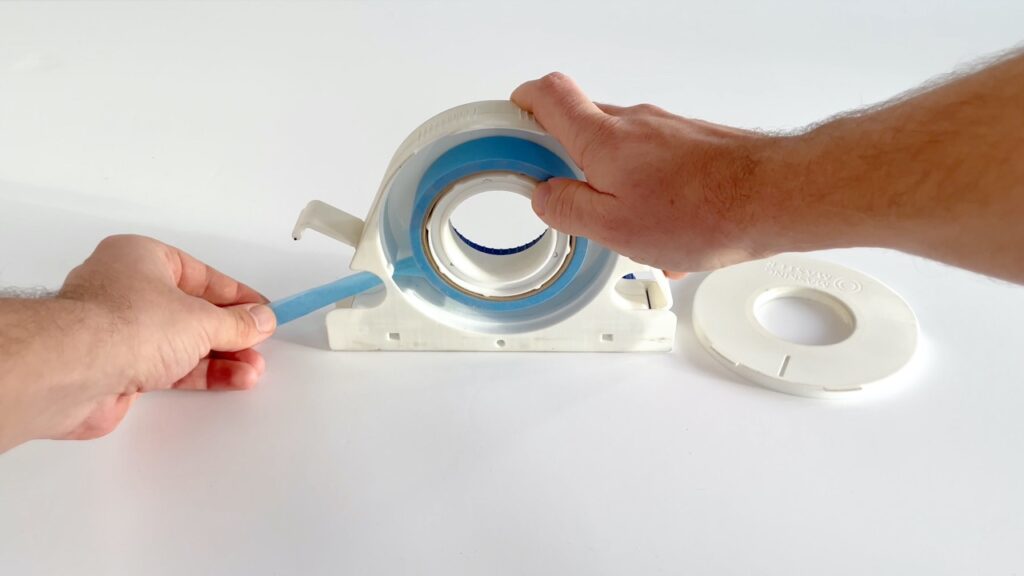
Step 6
Open the Tension Lever on the left. Now, pull the folded tape tip through the opening.
Step 7
Slide the Tape Mount Ring back over the core. Make sure to hold onto the tip of the tape in case you let the tape roll slip out of your hands. Otherwise, you’ll have to pull the tape through the opening again!
Step 8
Close the Masking Master by putting back the lit. Check if the two aligning indicators are aligned correctly or it won’t close!
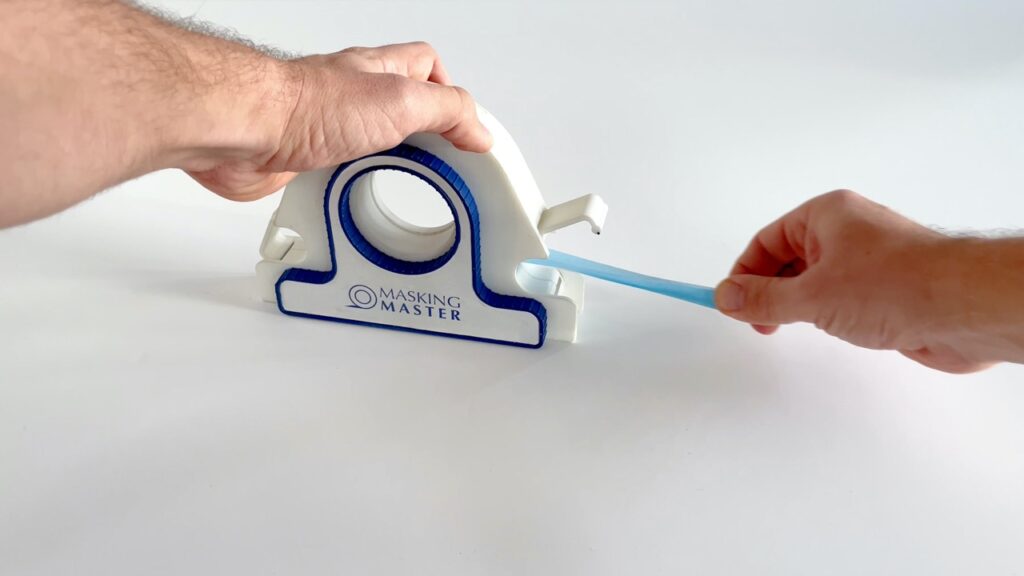
Step 9
Turn the Masking Master around and pull the tape out.
Step 10
Fold the tape over the blades and cut the tape by moving the actuator to the right with your other hand. Make sure your fingers aren’t near the opening for the blades. You are now ready to start using the Masking Master, check out “The Basics” for a step-by-step guide for your first run!
This website uses cookies to optimize your experience.
We just use geolocation and traffic data, so that we can adjust our website to your needs. All data is anonymously stored and analyzed. Read more about is in our Privacy Policy
This website uses cookies to optimize your experience.
We just use geolocation and traffic data, so that we can adjust our website to your needs. All data is anonymously stored and analyzed. Read more about is in our Privacy Policy