Get started with the accessories and get the perfect end result in different situations!
If you’re a DIY enthusiast or professional painter, the Masking Master is an essential tool that can help make your life easier. With the addition of the accessories such as the spacer and the overlength spacer, this tape dispenser becomes even more versatile, allowing you to achieve a variety of precise masking tasks.
The spacer accessory is perfect for when you need to apply tape at a specific distance from the surface you’re going to paint, whether it’s 3mm or 5mm. This allows you to create clean, sharp lines especially when applying caulk. The overlength spacer is designed for when you need to create an overlap around or through corners, allowing you to extend the length of the tape by a few millimeters and create an overlap.
In this tutorial, we’ll take you through step-by-step on how to use the Masking Master in combination with the different accessories, so you can get the most out of your Masking Master. You’ll learn how to attach the accessories and apply the tape precisely to achieve a professional-looking finish. With these tips and tricks, you’ll be able to tackle any painting project with confidence and ease.
Guide
Step 1
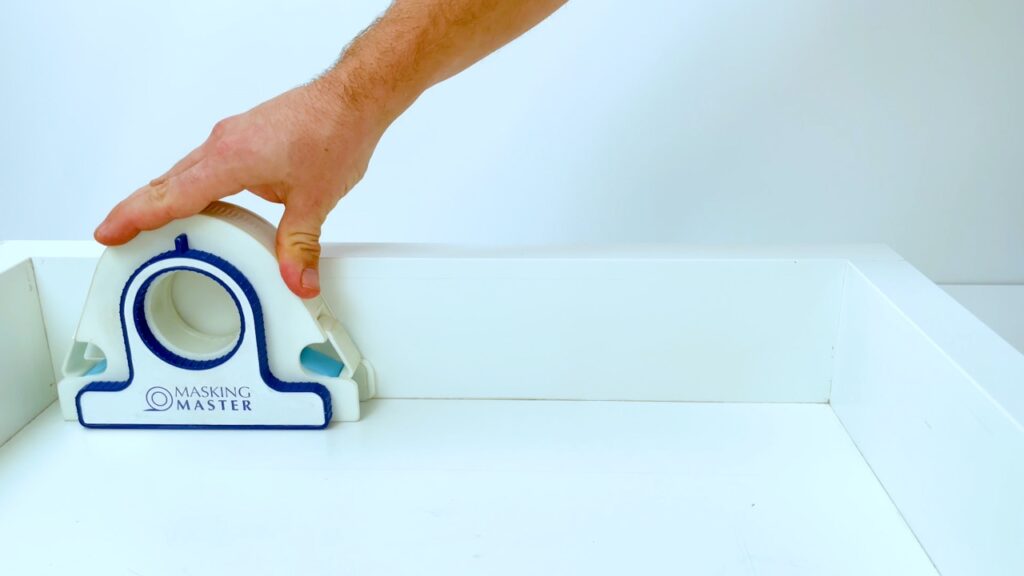
Take the desired spacer (3mm or 5mm) and attach it to the guide side of the Masking Master. Simply align the pins with the holes in the Masking Master and push it on firmly.
Step 2
Make sure the spacer is attached firmly and the guide side is without unevenness.
Step 3
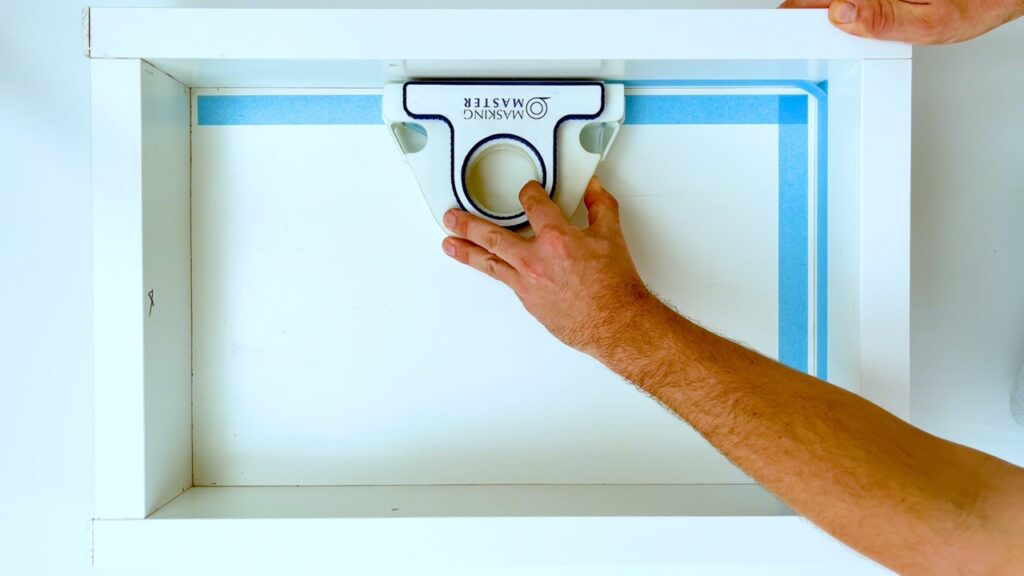
Place the Masking Master 1 cm (1/2 inch) from the starting point, with the guide side against the surface you’re going to caulk or paint. See the basics guide for more information.
Step 4
Make sure to use the spatula to press the tape down firmly.
Step 5
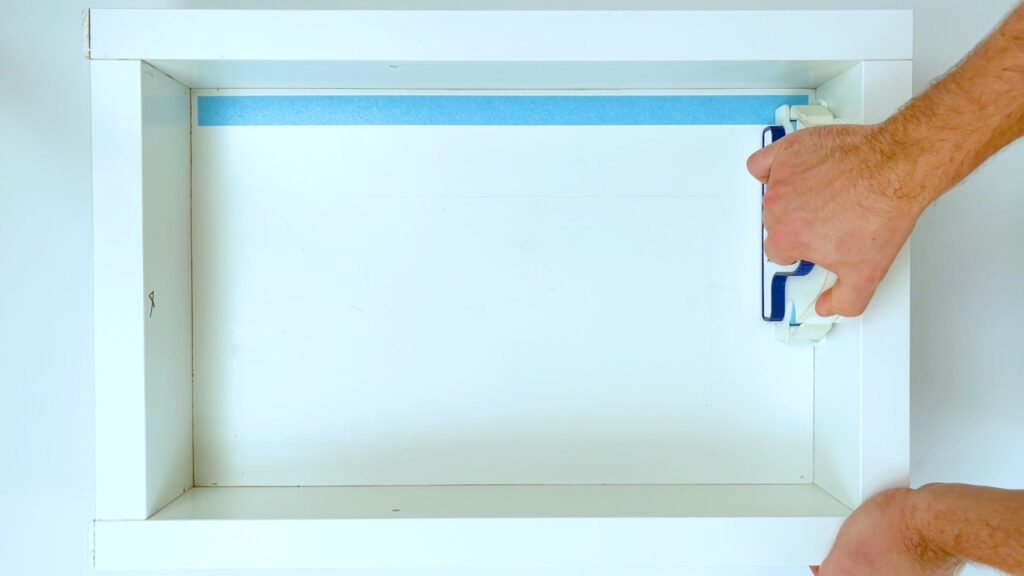
Repeat step 3 for each new tape line.
Step 6
Now, take the overlap spacer and attach this on the bottom of the Masking Master. Make sure to leave the spacer in the side attached to create an even distance.
Step 7
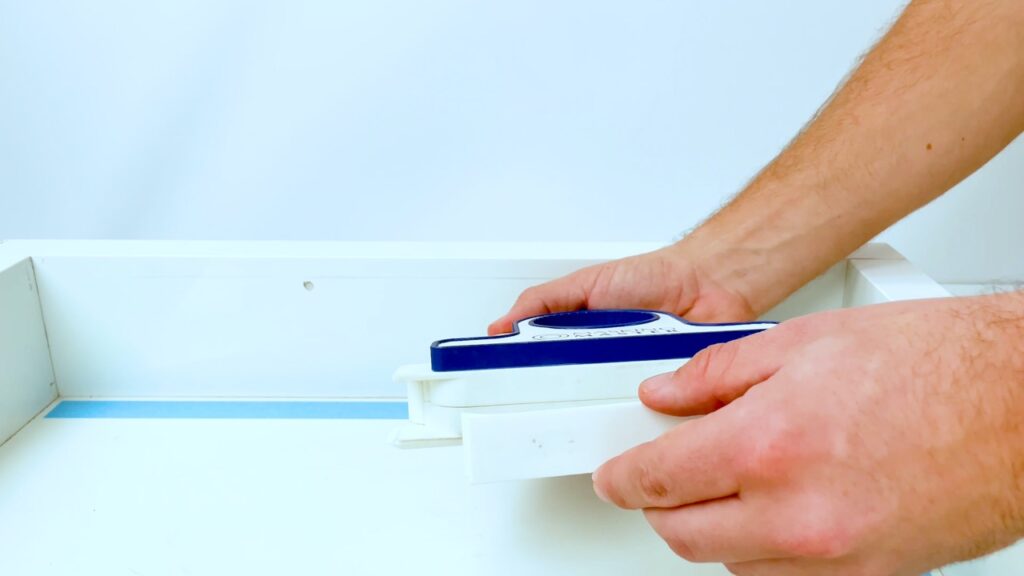
Pull the masking tape out to a length of roughly the length of the Masking Master and then a bit more! Loop the tape underneath the Masking Master to the other side. Hold the tape underneath the tension lever and flip the tension lever down. Flip the tension lever on the other down as well. Do a quick check if the masking tape is aligned with the guide side!
Step 8
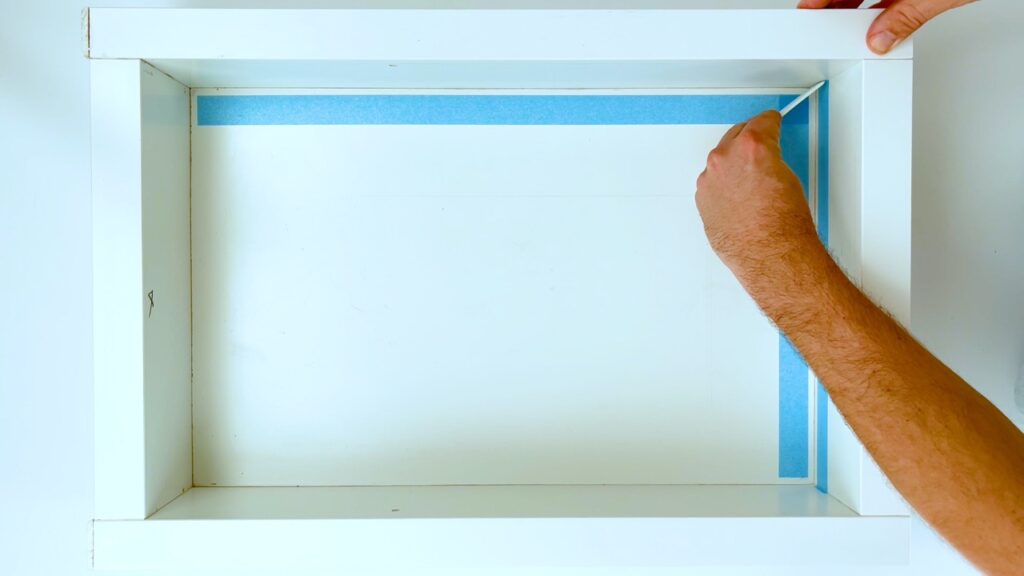
Repeat step 3 to create a new tape line. Make sure to press the tape in the corner as well with the spatula.
Step 9
When creating a new tape line, don’t push the Masking Master down or on the tape, just push it forward.
Step 10
Press the tape down again and you’re all set to start caulking. In this tutorial we’ve used the 5mm spacer. If you have a 5mm ø straw, you can press the caulk down perfectly and create a perfect seal. The residu will get on the tape, which you can remove afterward.
Pro Tip: Don’t use soap and your fingers to smoothen the caulk. This could lead to areas without seal due to the soap bleeding in between the caulk and the surface. Check our article “How To caulk Like A Pro” for more information!
This website uses cookies to optimize your experience.
We just use geolocation and traffic data, so that we can adjust our website to your needs. All data is anonymously stored and analyzed. Read more about is in our Privacy Policy
This website uses cookies to optimize your experience.
We just use geolocation and traffic data, so that we can adjust our website to your needs. All data is anonymously stored and analyzed. Read more about is in our Privacy Policy