Blade
Replacement
A short explainer on how to replace the blades inside the Masking Master
A short explainer on how to replace the blades inside the Masking Master
Welcome to our step-by-step guide on how to replace the blades of your Masking Master Quickly & safely. As with any cutting tool, the blades of the Masking Master can become dull over time with frequent use, and it’s important to know how to replace them to ensure the a clean cut. In this guide, we’ll walk you through the process of replacing the blades on your Masking Master with safety in mind, using only your hands. Make sure to wear protective gloves while replacing the blades to prevent any injuries. After this instruction you’ll be able to replace the blades of your Masking Master with ease, ensuring that it remains a reliable tool for all your painting and DIY projects. So let’s get started!
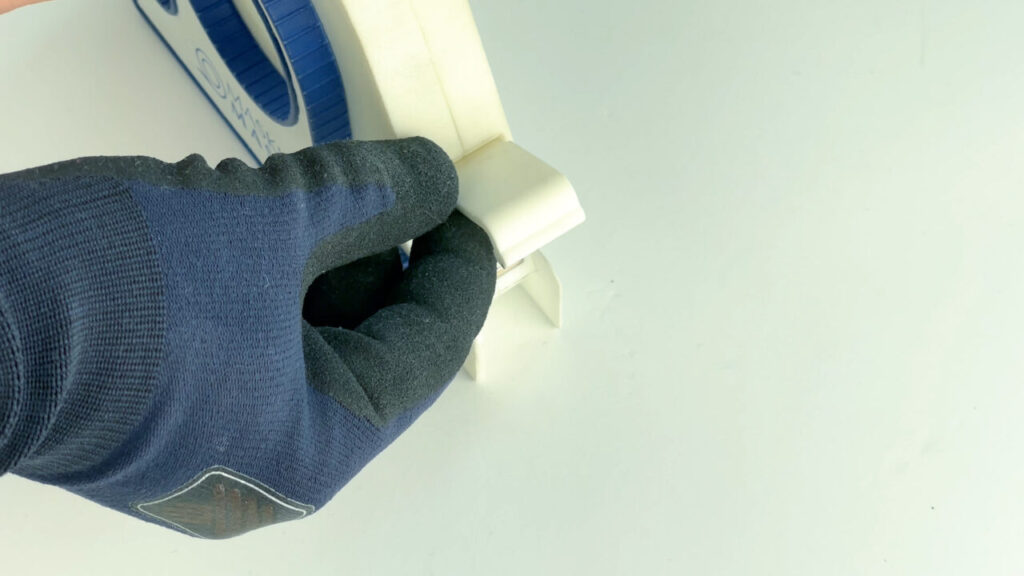
Open the tension lever on the side you’re going to change the blade.
Bring the used blade to the outward position by moving the actuator (the blue part on the side) towards you and keep it in this position.
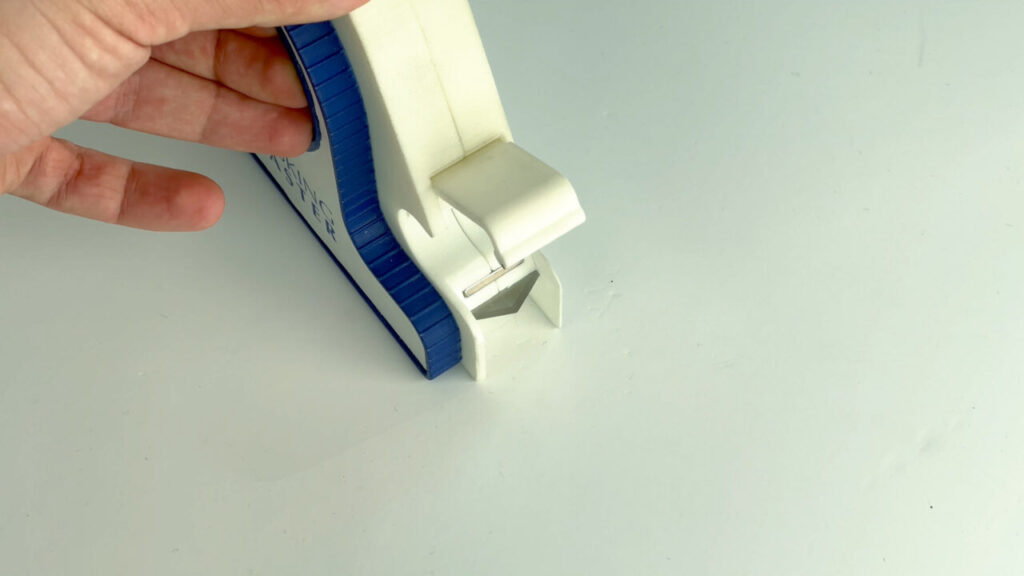
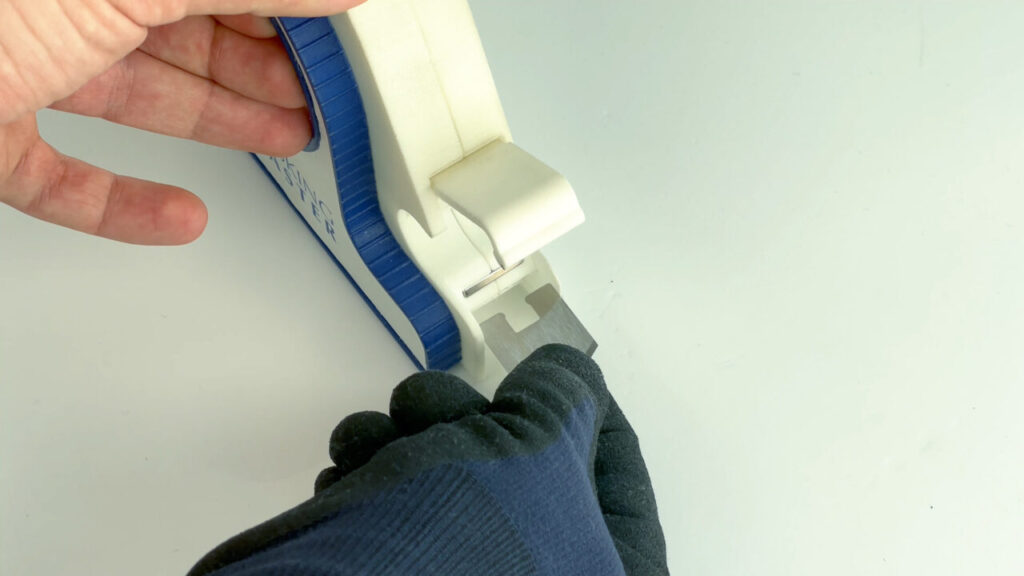
While keeping the used blade in the outward position, use your fingers to grab the blade and pull it towards you.
NOTE: Make sure you wear protective gloves, while the blades may still be sharp and can cause injuries!
While still holding the actuator in the outward position, take the fresh blade and align it with the opening for the blade. Push the blade inside the Masking Master until it snaps into place.
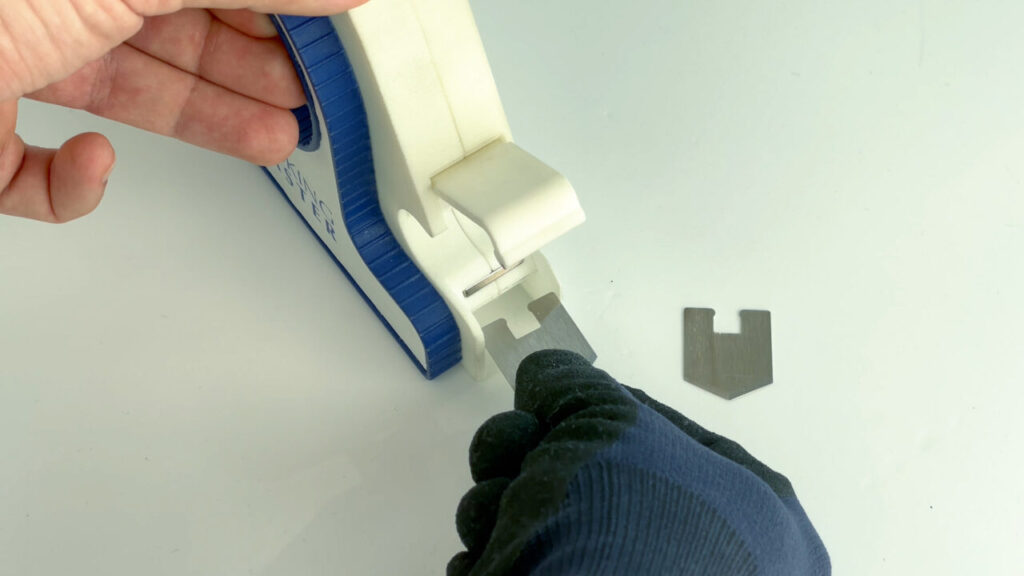
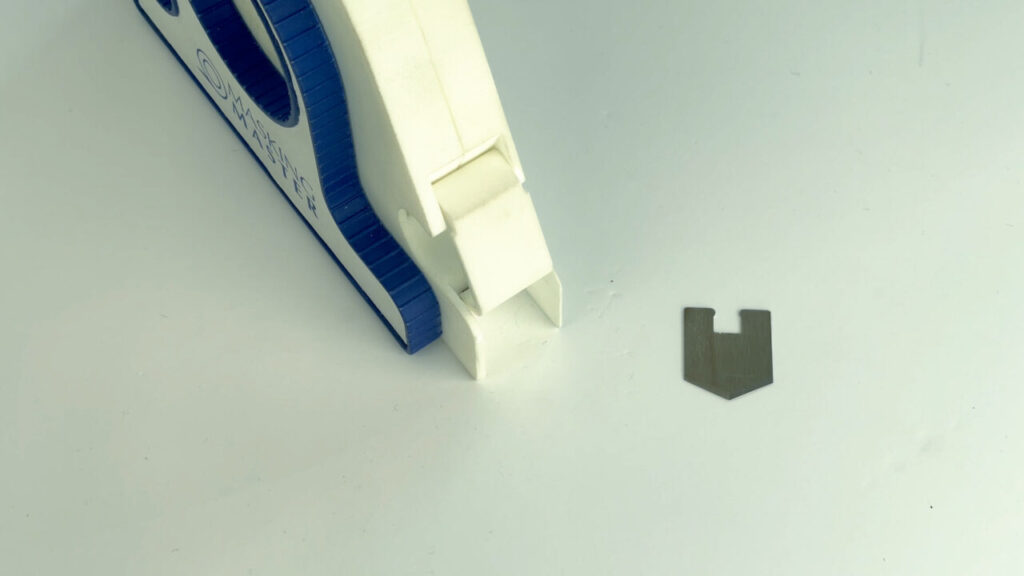
Close the tension lever and repeat these steps for the other side. Make sure to keep the old and new blades separate.
NOTE: Pack the blades in a suitable container when disposing them so that they can’t harm anyone.
Meld je aan als je deel uit wilt maken van onze revolutie
Meld je aan als je deel uit wilt maken van onze revolutie
| Subtotaal | $ 75.00 |
|---|---|
| Verzending | Voer uw adres in om de verzendopties te bekijken. |
| Totaal | $ 75.00 |